
How to Add Captions in Shootsta
shootsta.
How to Add Captions in Shootsta
By Shootsta · Published April 28, 2026 · Updated October 2026
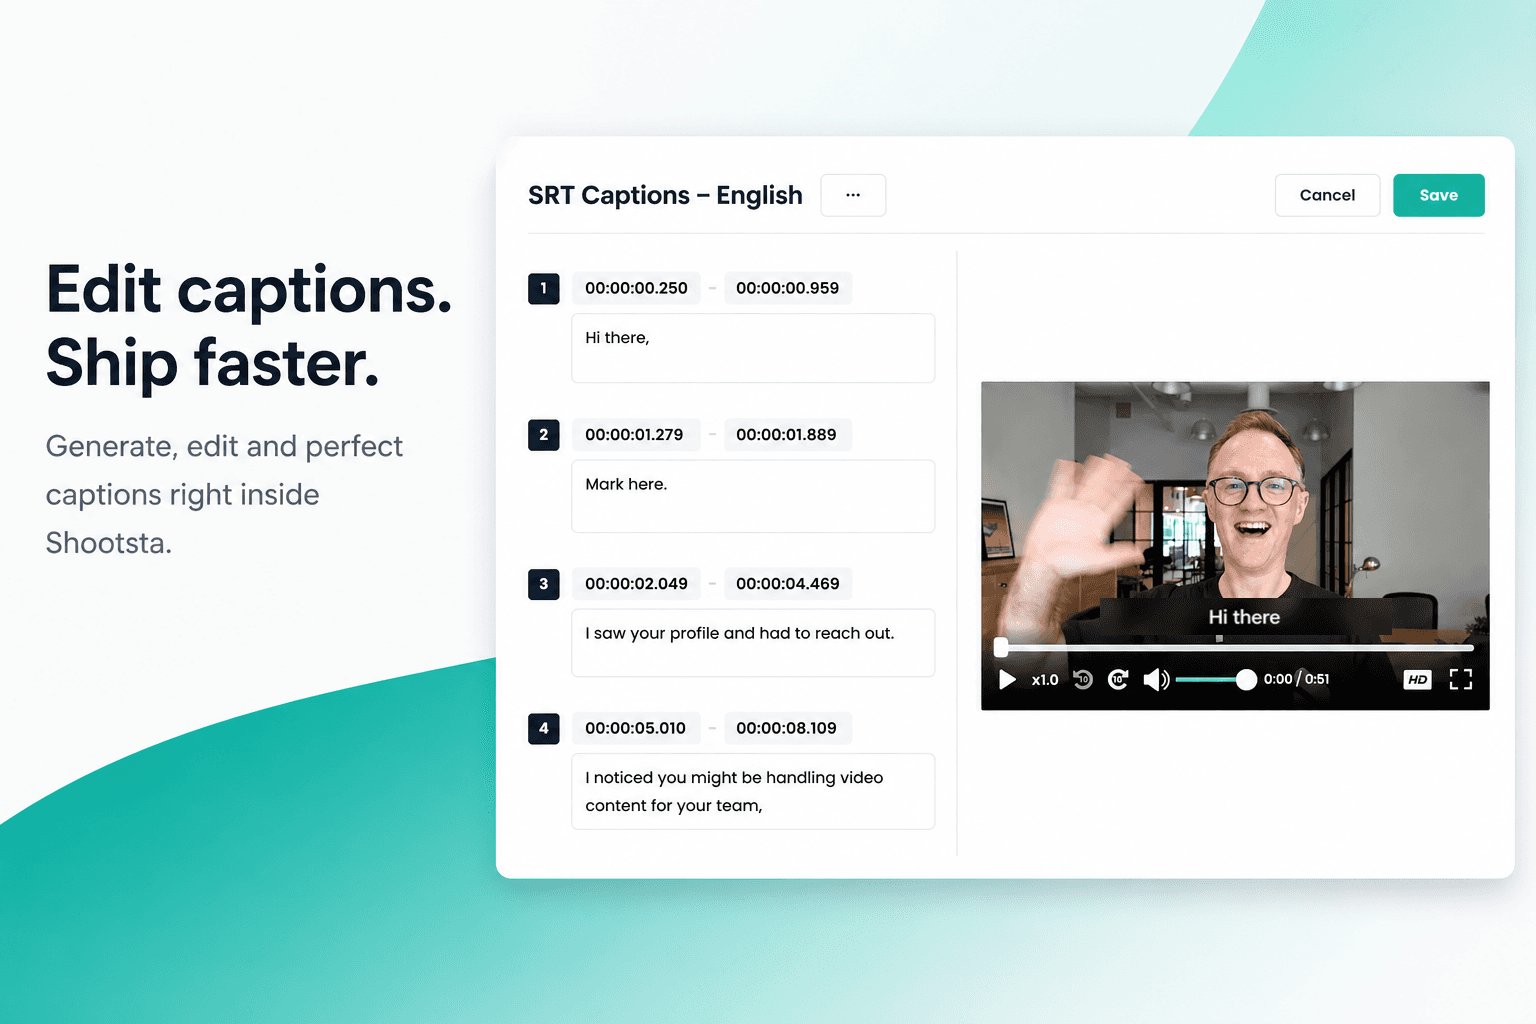
Generate and edit captions directly inside the Shootsta platform. No request forms, no back and forth, no waiting on turnaround. Here is how it works.
Captions are now self-serve in Shootsta. You can generate and edit captions inside the platform without filling in a request form or waiting on turnaround.
For teams shipping video across internal comms, brand, social, and L&D, that is one fewer handoff between finished edit and published asset.
What changed?
Previously, adding captions to a video meant submitting a request, waiting for turnaround, reviewing a file, and re-uploading. For a single video, that was manageable. For teams producing dozens of videos a month, it quietly held things up.
Now you can generate, edit, and publish captions on any video in your workspace without leaving the platform. It happens in the workflow you already use, with no extra steps added.
This applies to any new video submitted to Shootsta from 28 April 2026 onwards.
How do I add captions to a video in Shootsta?
The process has five steps, and on a short video it takes a few minutes from start to finish.
Step 1: Open your video
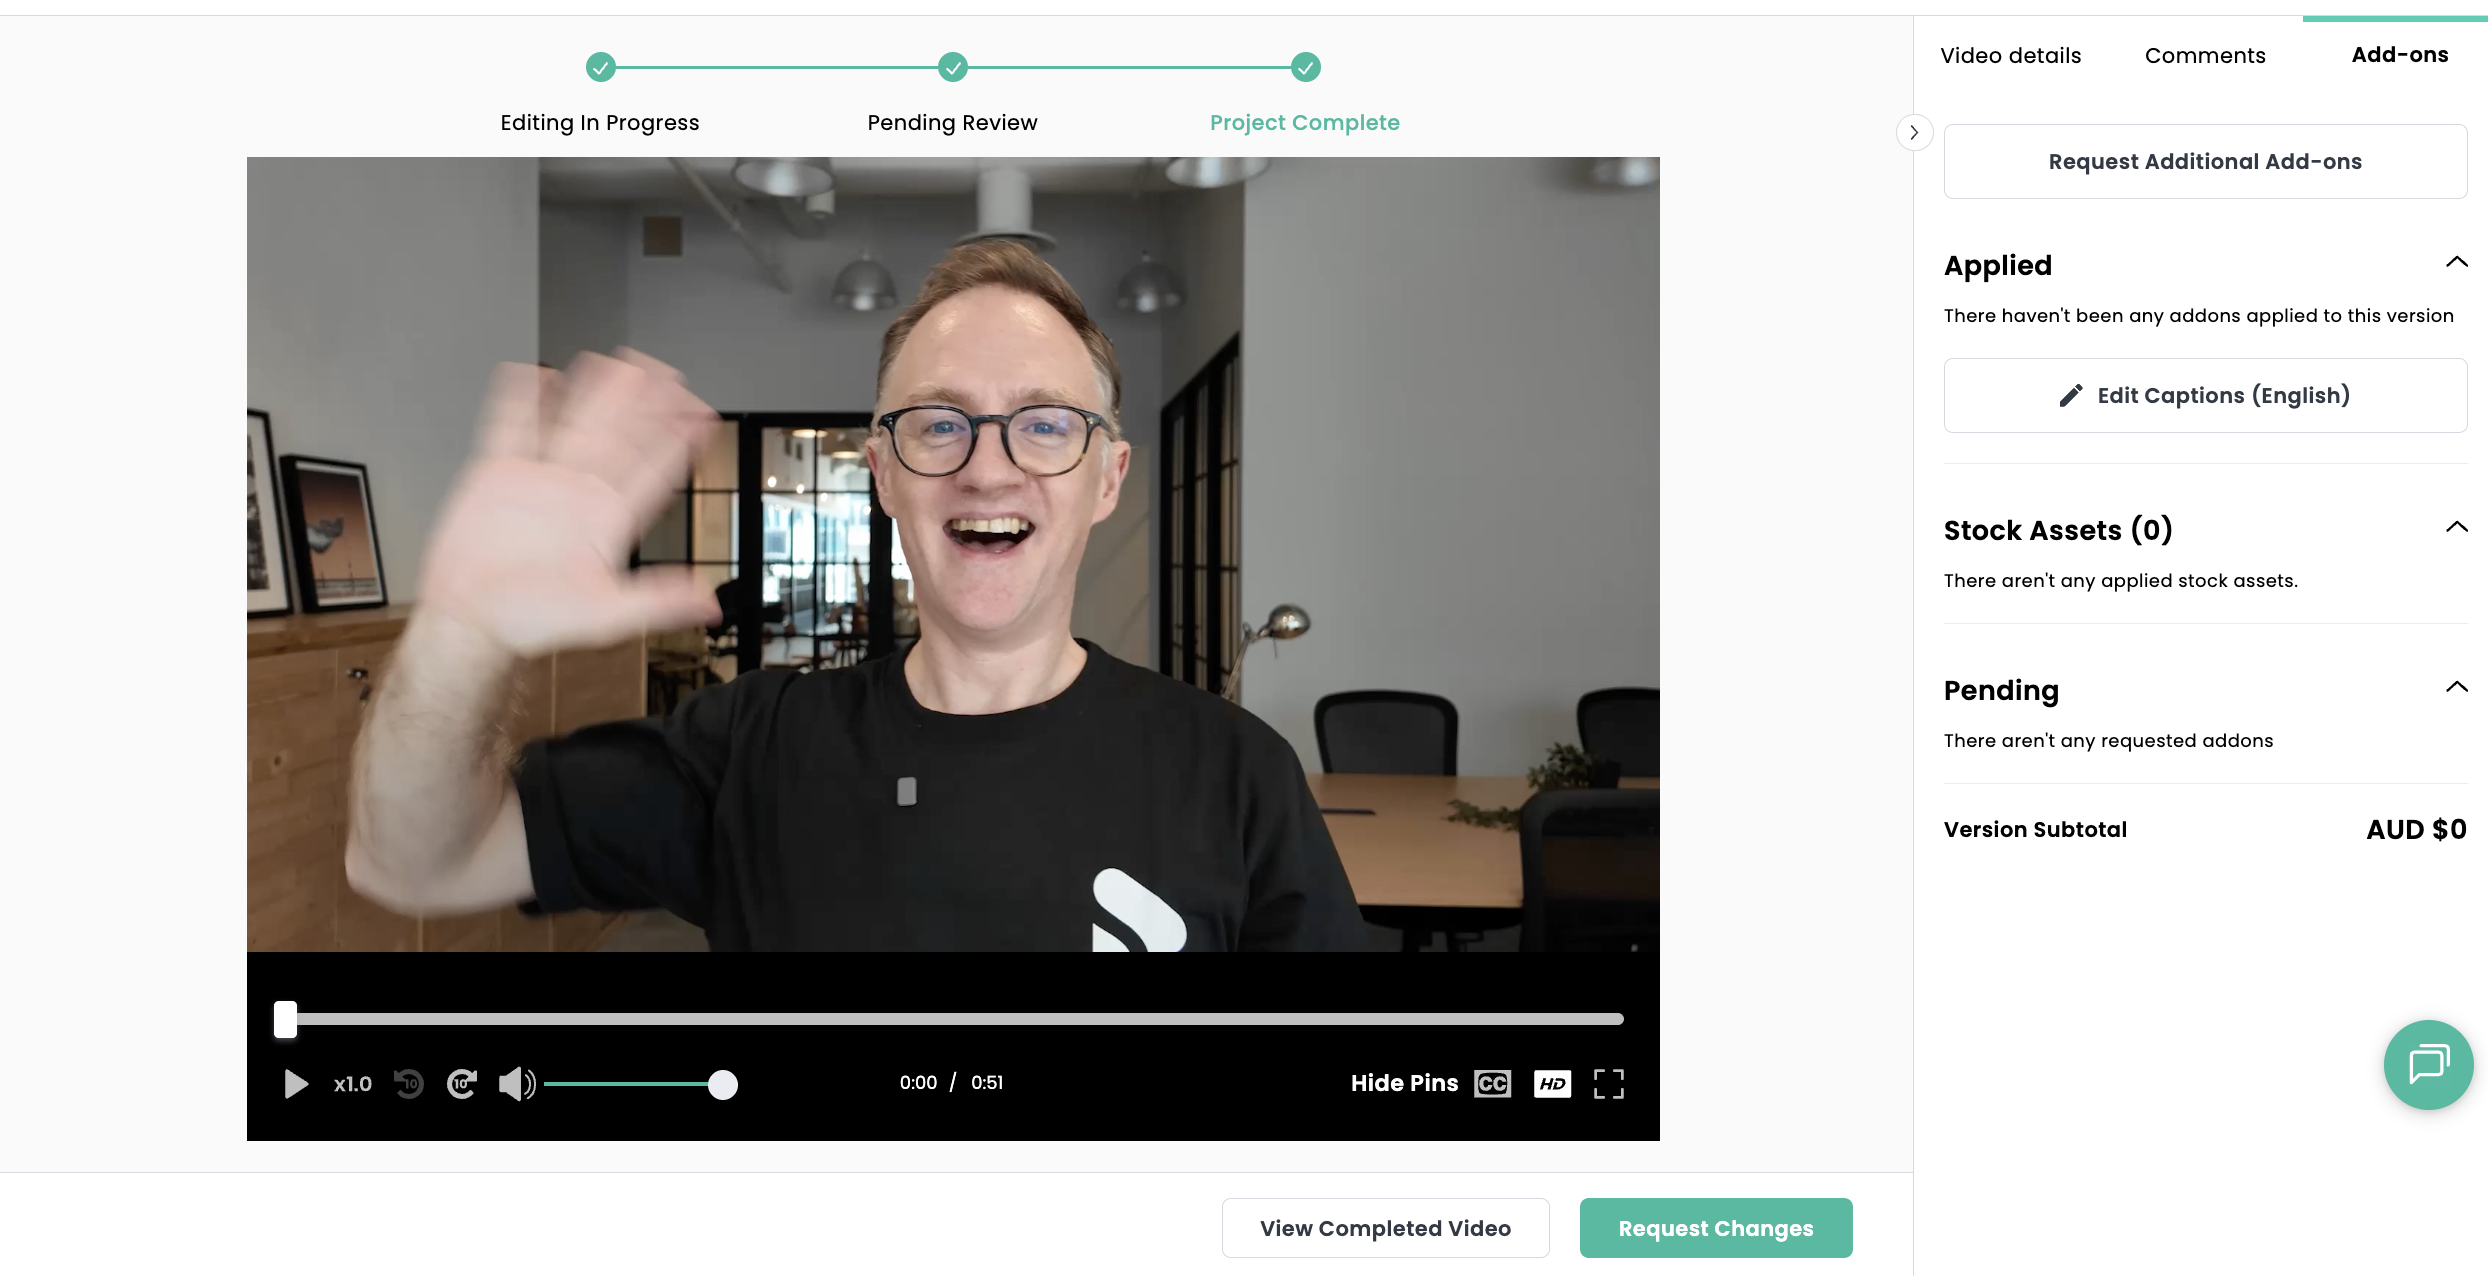
Open the video you want to caption in the Shootsta platform. You will see the video player with your completed edit.
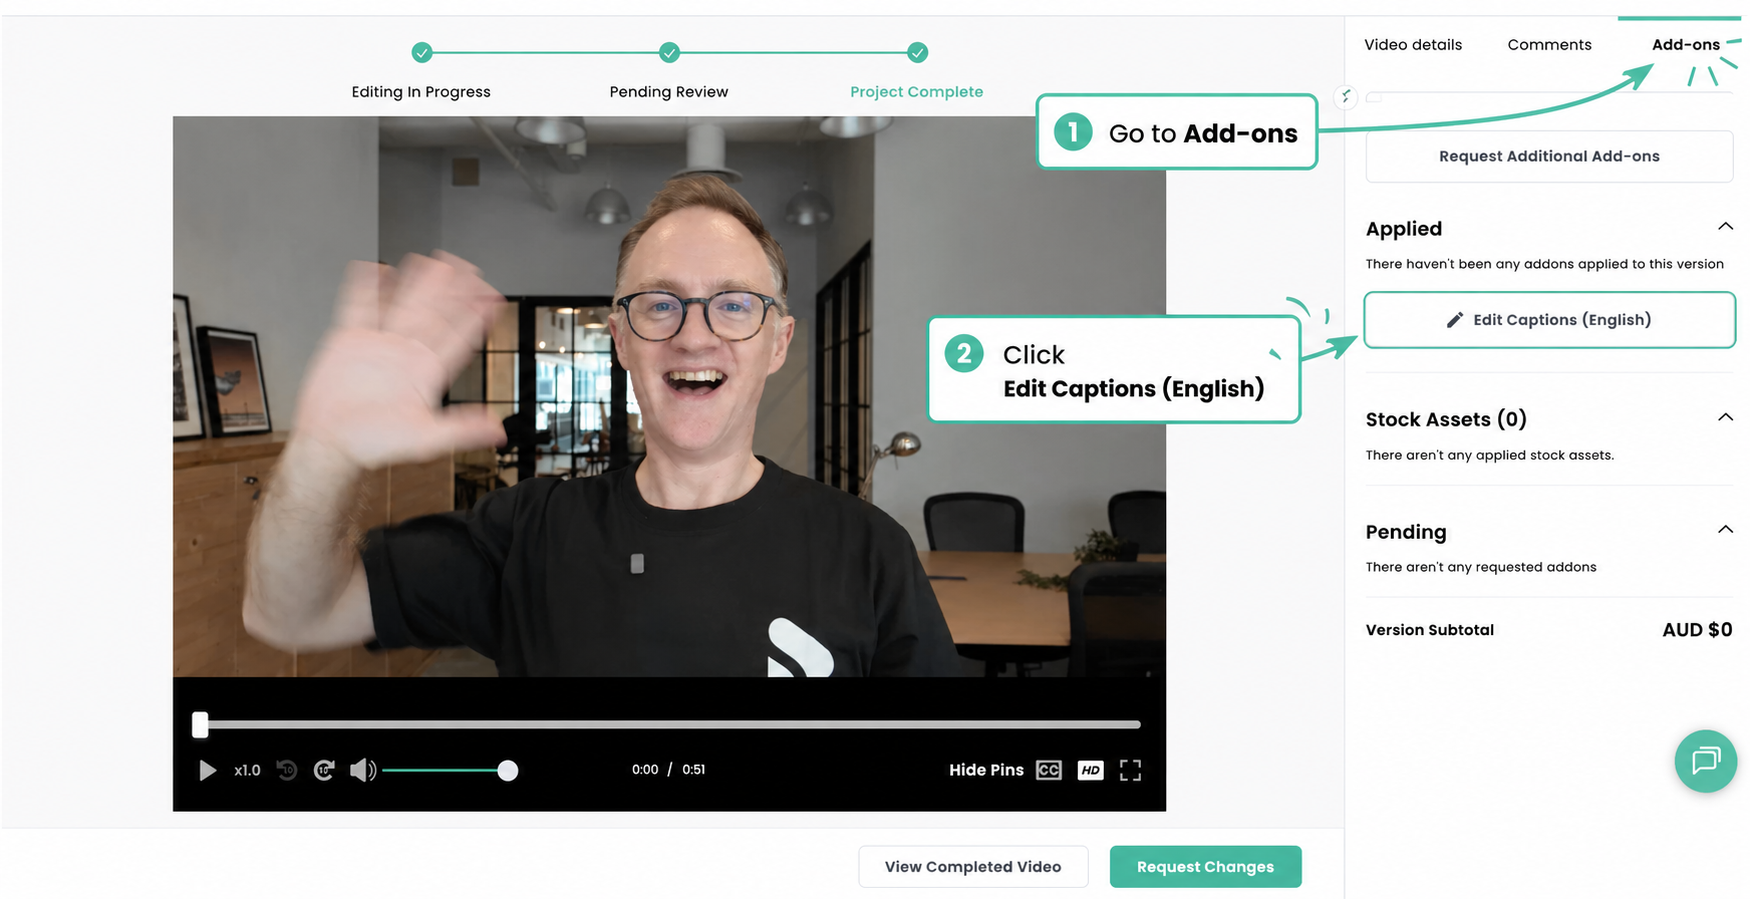
Step 2: Go to Add-ons and click Generate Captions
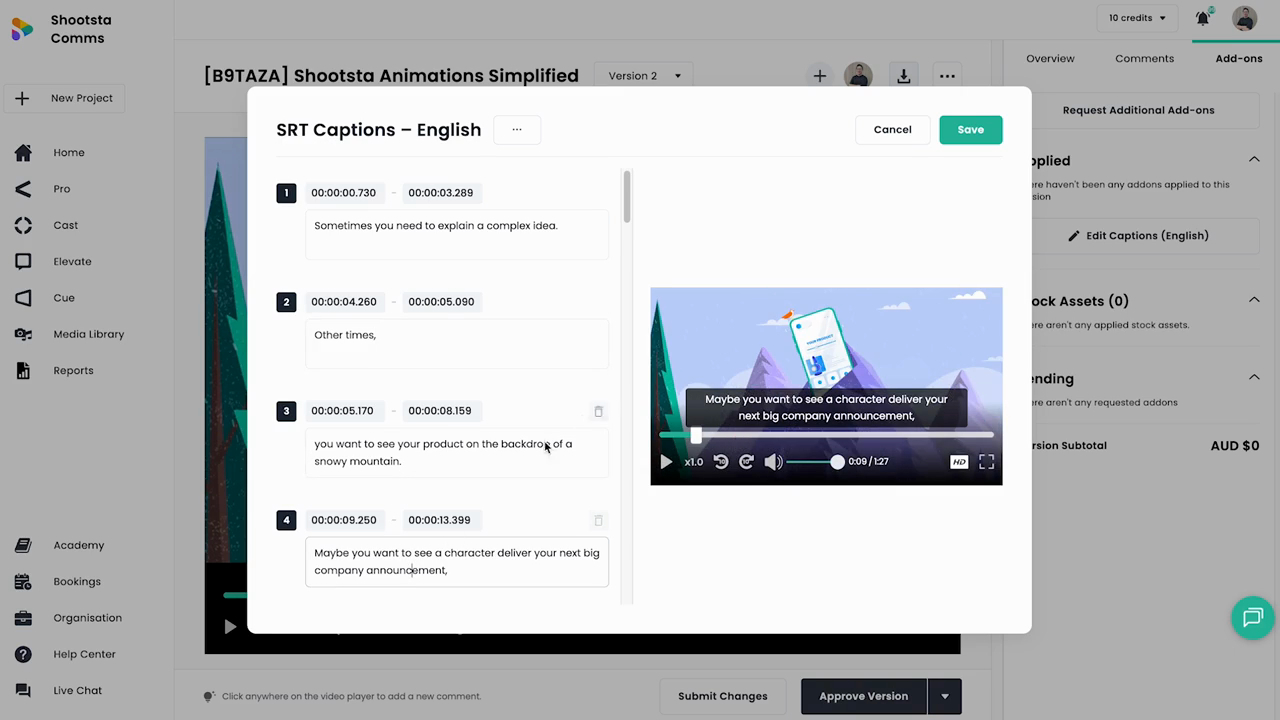
In the right-hand panel, click the Add-ons tab. You will see the option to Edit Captions (English). Click it to auto-generate captions from the audio in your video.
Step 3: Review and edit
The caption editor opens with your auto-generated captions. Each caption block shows the text, start time, and end time. You can edit the text, adjust timing, and fix any words the auto-generation got wrong.
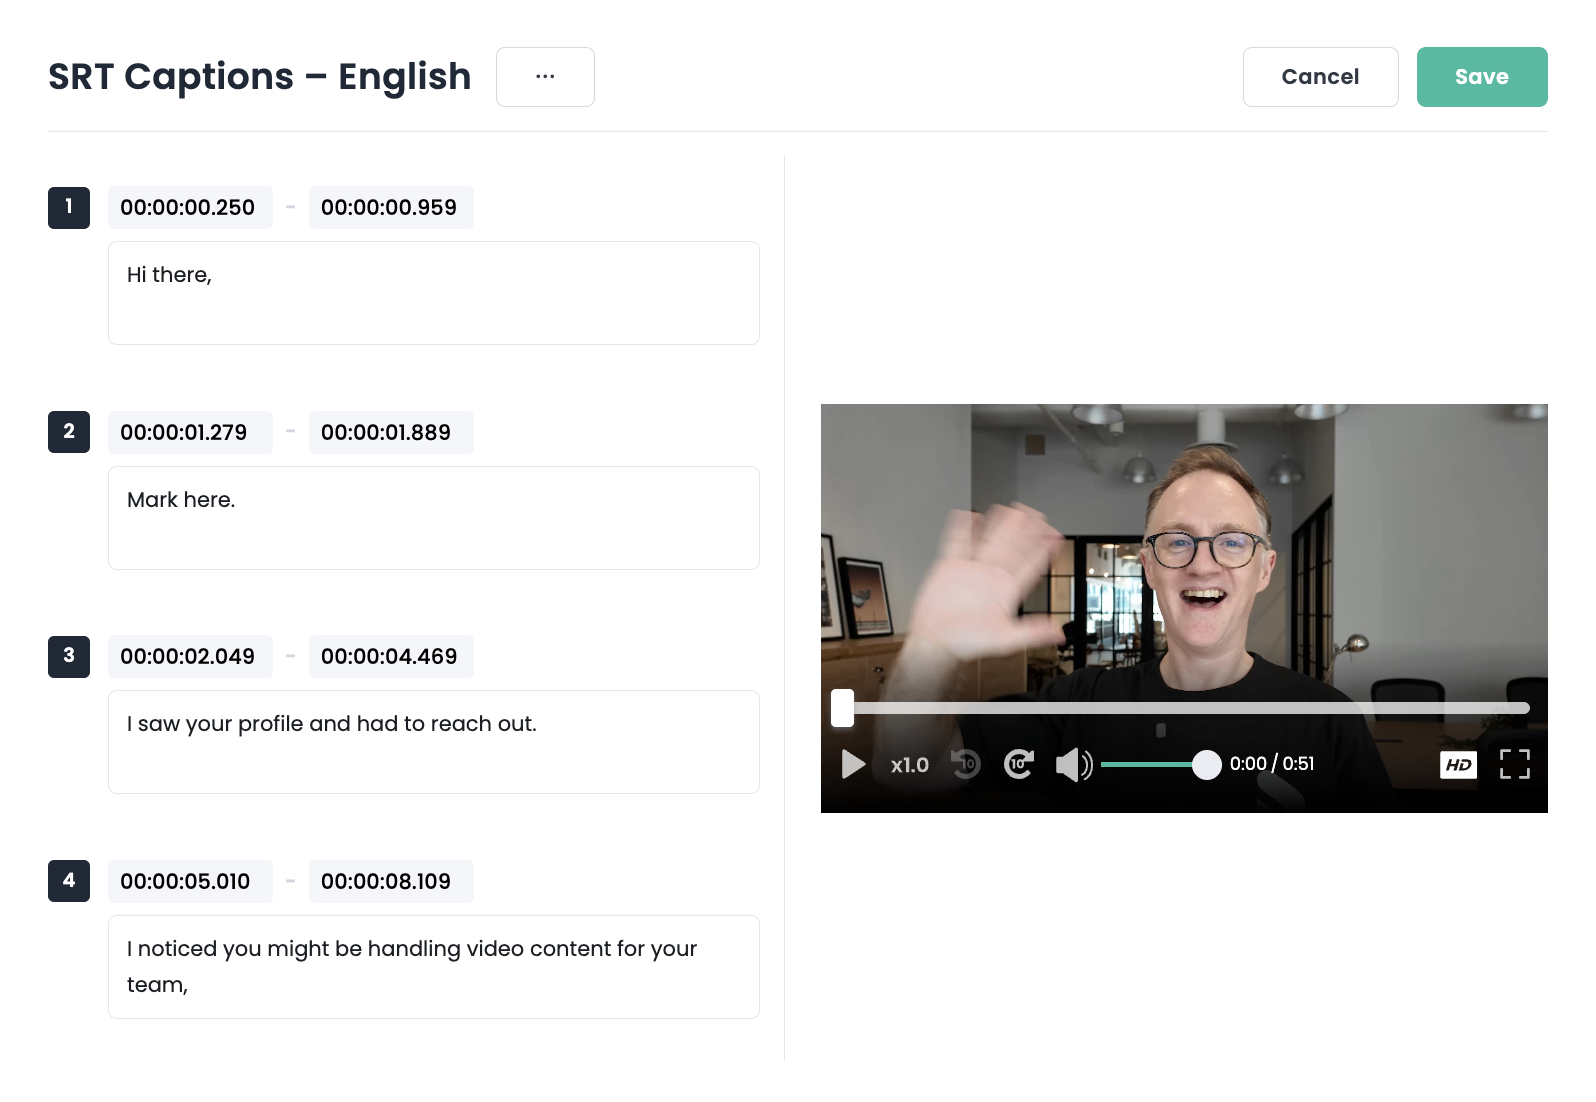
Pay attention to:
- Brand-specific terms and proper nouns (auto-generation often misspells these)
- Line breaks - keep lines short enough to read on mobile
- Timing - make sure captions appear and disappear in sync with speech
Step 4: Click Save
Save your edited captions, and they are attached to your video from that point on.
Step 5: Download
Download the captions as a separate SRT file and upload it alongside your video on whichever platform you are publishing to. Most platforms (LinkedIn, YouTube, Vimeo, social, web players) accept SRT files and display them as closed captions viewers can toggle on or off.
If you need burnt-in (open) captions baked into the video file itself, that part is not self-serve yet. Submit a request to the Shootsta team and we will deliver a version with the captions burnt in.
Free Consultation
Want a hand with your next video?
Talk to a Shootsta producer about your goals, timeline, and budget. There is no pitch, just advice you can use.
Why does this matter?
A large share of video on social platforms plays with the sound off, so a video without captions loses part of its audience. WCAG 2.1 Level AA requires captions on all prerecorded video. If your organization has signed up to an accessibility standard, every video you publish needs them. Read our full guide on video accessibility requirements for the legal and engagement details.
Teams already knew captions mattered. What slowed them down was the extra request and wait on every single video. With the editor inside the platform, every video can leave Shootsta captioned and ready to publish without a separate process, using the same platform and workflow you use for the edit.
Who is this for?
Self-serve captions are open to any team producing video through Shootsta. They are most useful for these groups:
- Internal comms teams shipping regular updates and leadership messages
- L&D teams producing compliance training and onboarding videos where comprehension matters
- Marketing teams publishing to social platforms where autoplay is muted by default
- Global teams with non-native English speakers who rely on captions to follow along
Frequently asked questions
What if my project is already completed?
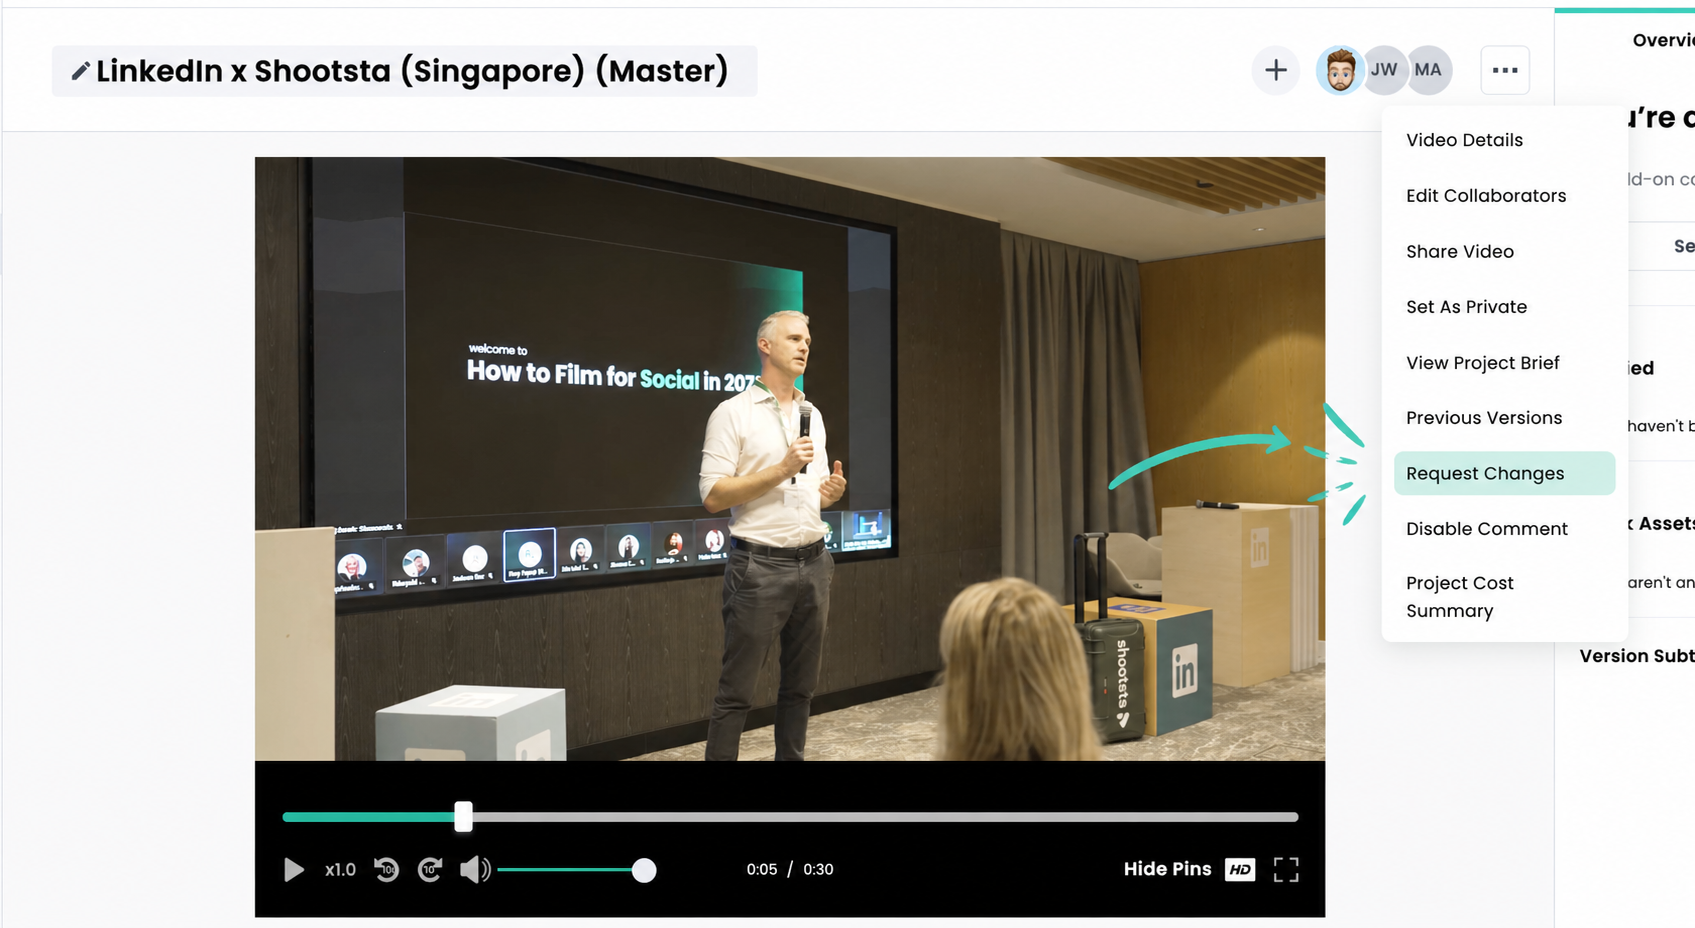
If your project is already marked as complete, the Add-ons tab is no longer visible. To add captions, click the three-dot menu at the top of your project and select Request Changes. This reopens the project so you can access Add-ons and generate captions.
Does this work on existing videos?
Self-serve captions are available on any new video submitted from 28 April 2026 onwards.
What languages are supported?
English captions are supported at launch. The caption editor generates SRT-format captions from the English audio track.
Can I edit the timing of individual captions?
Yes. Each caption block shows start and end timestamps that you can adjust directly in the editor.
Do I need to request captions separately?
No. You open your video, generate the captions, edit them and save, all without a request form or a wait.
Are these open captions or closed captions?
The captions are generated as SRT (closed captions). For guidance on when to use open vs. closed captions, see our guide on captioning business videos at scale.
How accurate is the auto-generation?
Speech recognition is accurate on clear audio, but it still makes mistakes. You should always review and edit before publishing, especially for brand terms, proper nouns, and industry jargon.
Take this article with you
Read the latest at shootsta.com/blog/how-to-add-captions-in-shootsta
You might also like
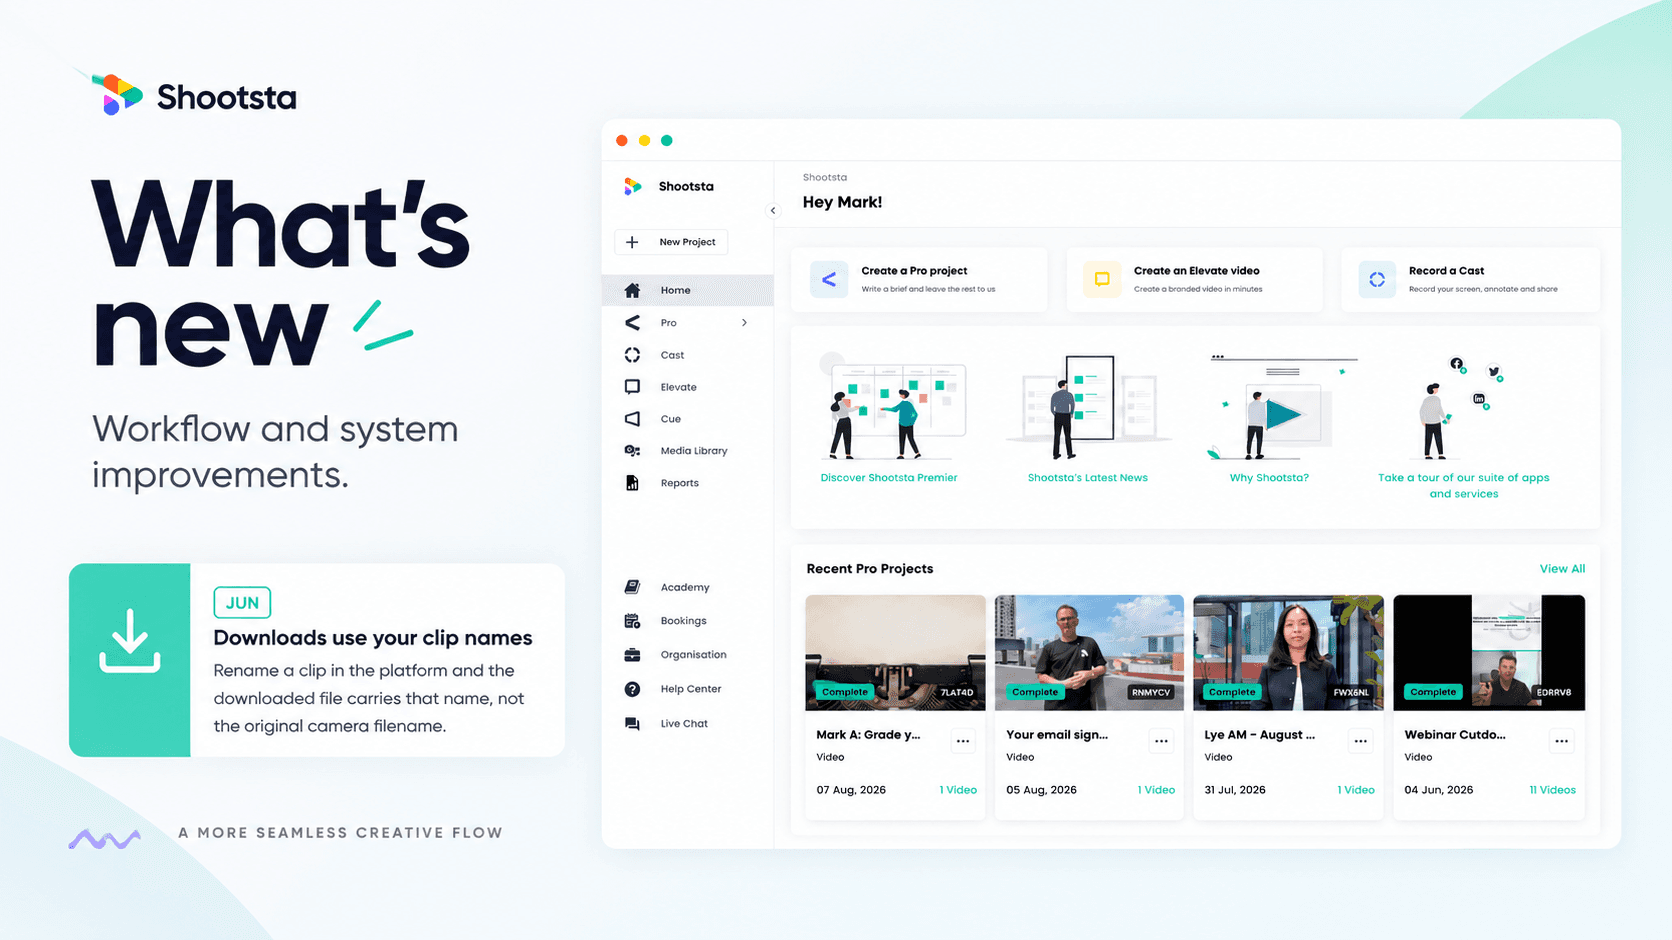
Less Admin, More Video: 15 Shootsta Updates
Fifteen platform updates from June to August 2026, covering video review, your media library, uploads and captions. Here is what changed and why it helps.
What we heard at the CMO Assembly in Nashville
Two days at the Millennium Alliance CMO Assembly in Nashville with marketing leaders from some of the world's biggest brands. Three things came up in almost every conversation: volume is up while budget is flat, brand drifts as volume rises, and speed decides whether a video still matters. Here is what we heard and what we shared.
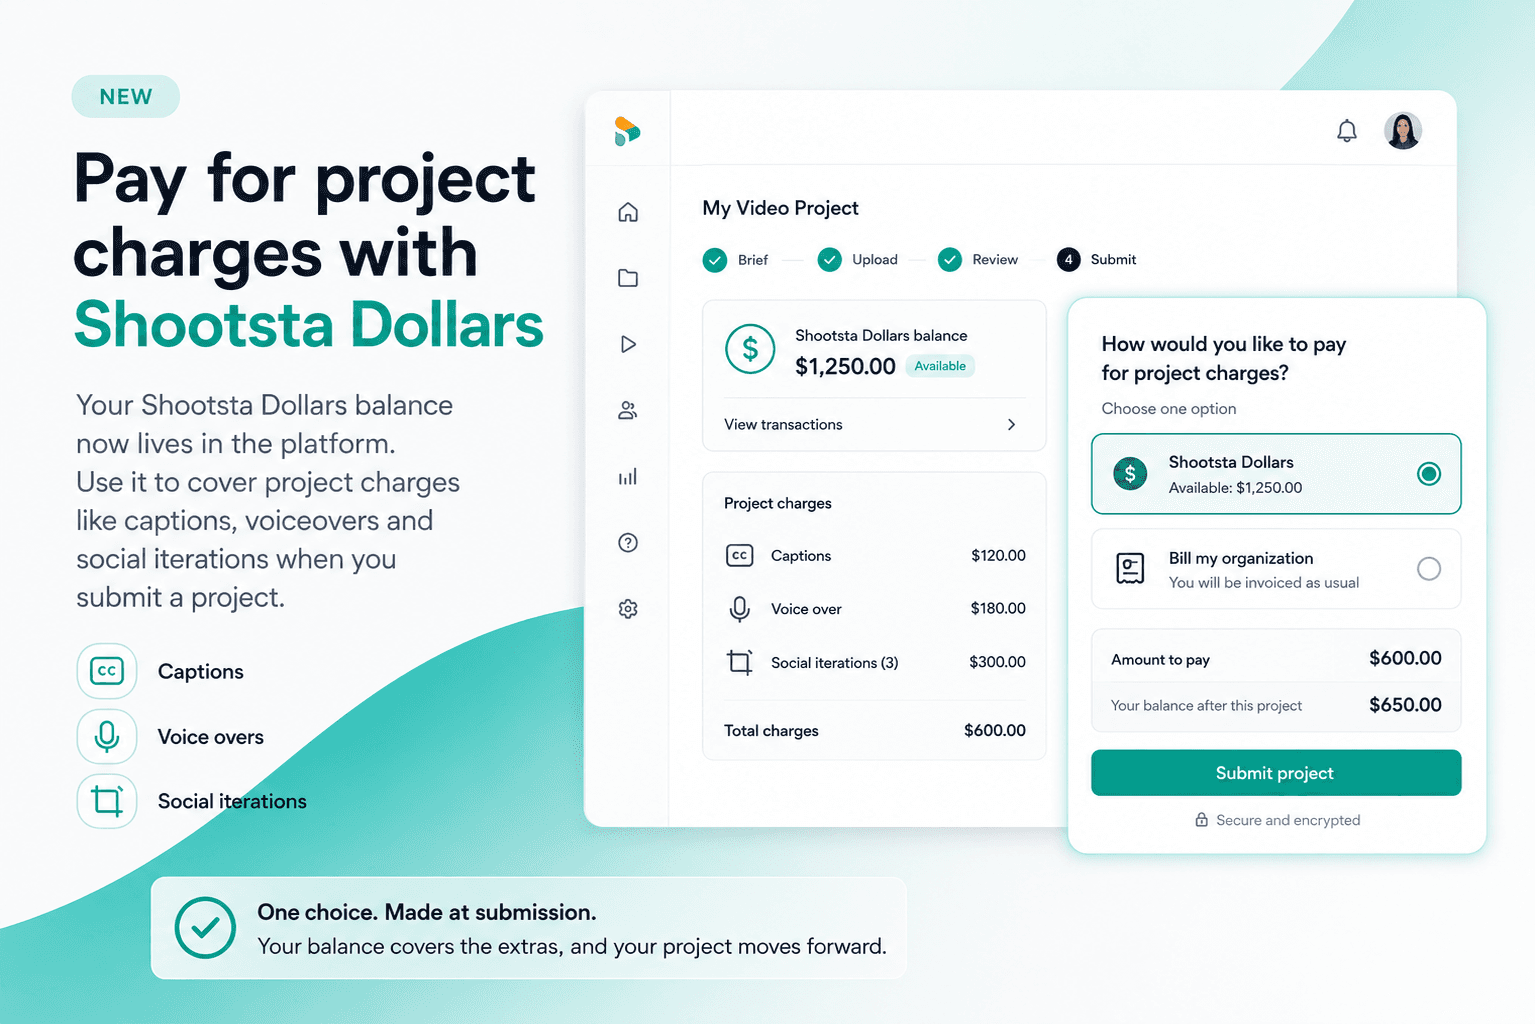
Pay for project charges with Shootsta Dollars
Your Shootsta Dollars balance now lives in the platform. Use it to cover project charges like captions, voiceovers and social iterations when you submit a project.
Shootsta Impact Video Awards 2026: How to Enter
Shootsta Impact Video Awards 2026: How to Enter
Entries are open for the Shootsta Impact Video Awards 2026. Here is what the awards recognise, who can enter, the 14 categories, how the panel judges, and how to nominate your team before July 31.
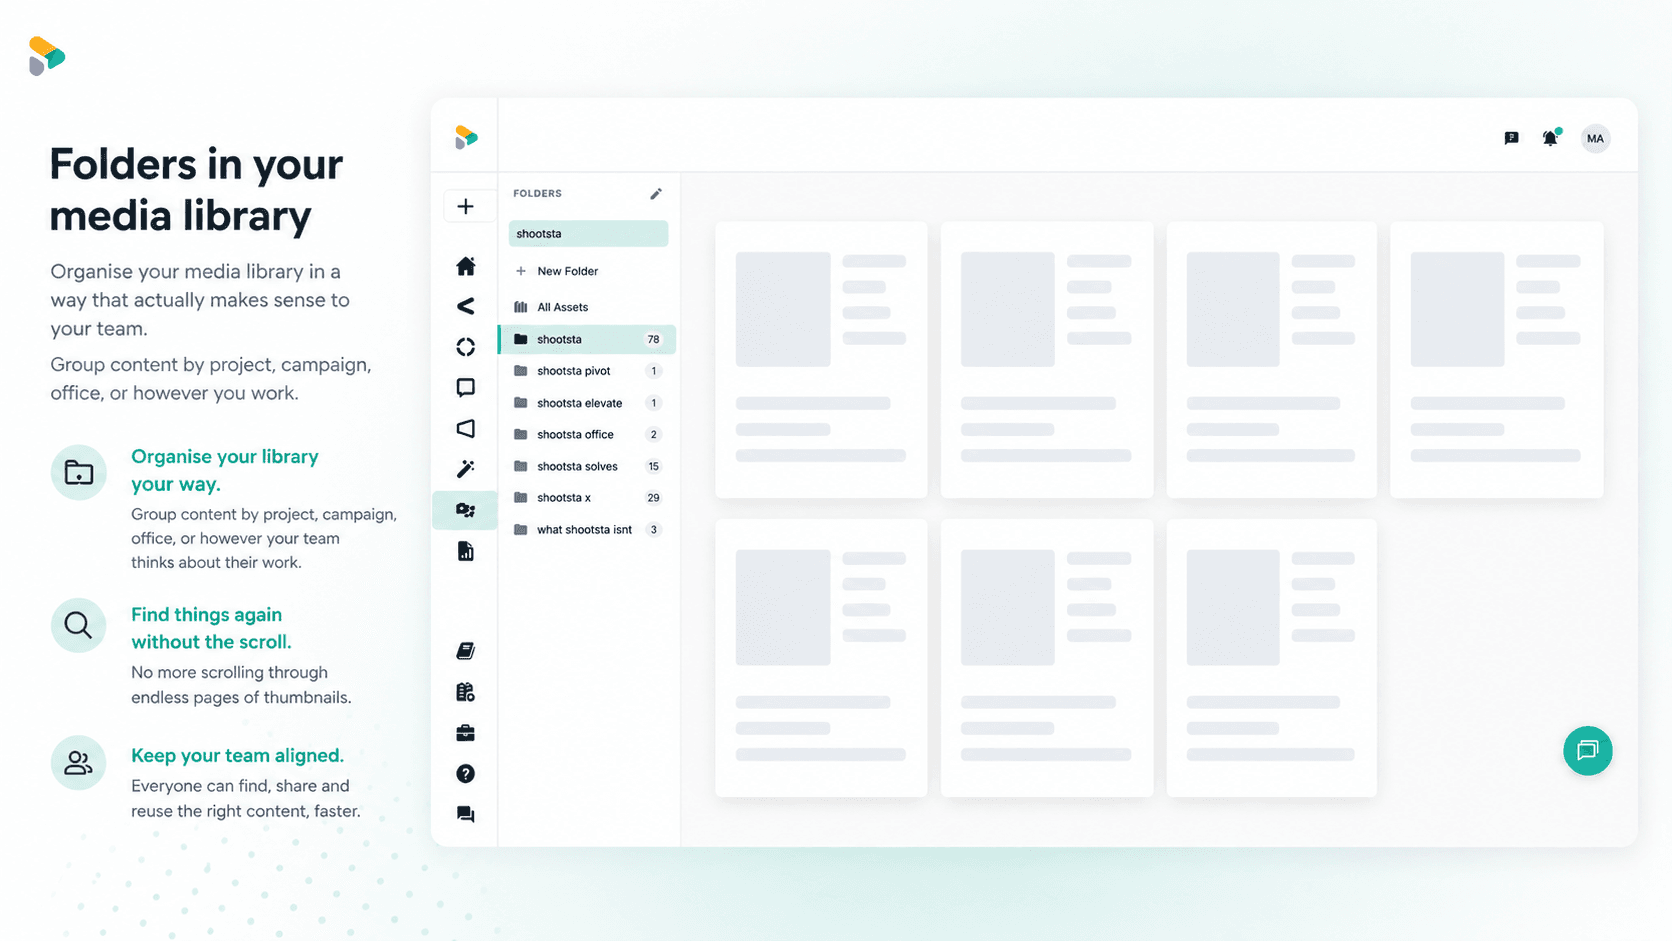
How to Use Media Folders in Shootsta
Organize your video assets into folders directly inside the Shootsta media library. Here is how to create folders, move assets, and keep your library clean as it grows.
