
How to Use Media Folders in Shootsta
shootsta.
How to Use Media Folders in Shootsta
By Shootsta · Published April 28, 2026 · Updated October 2026
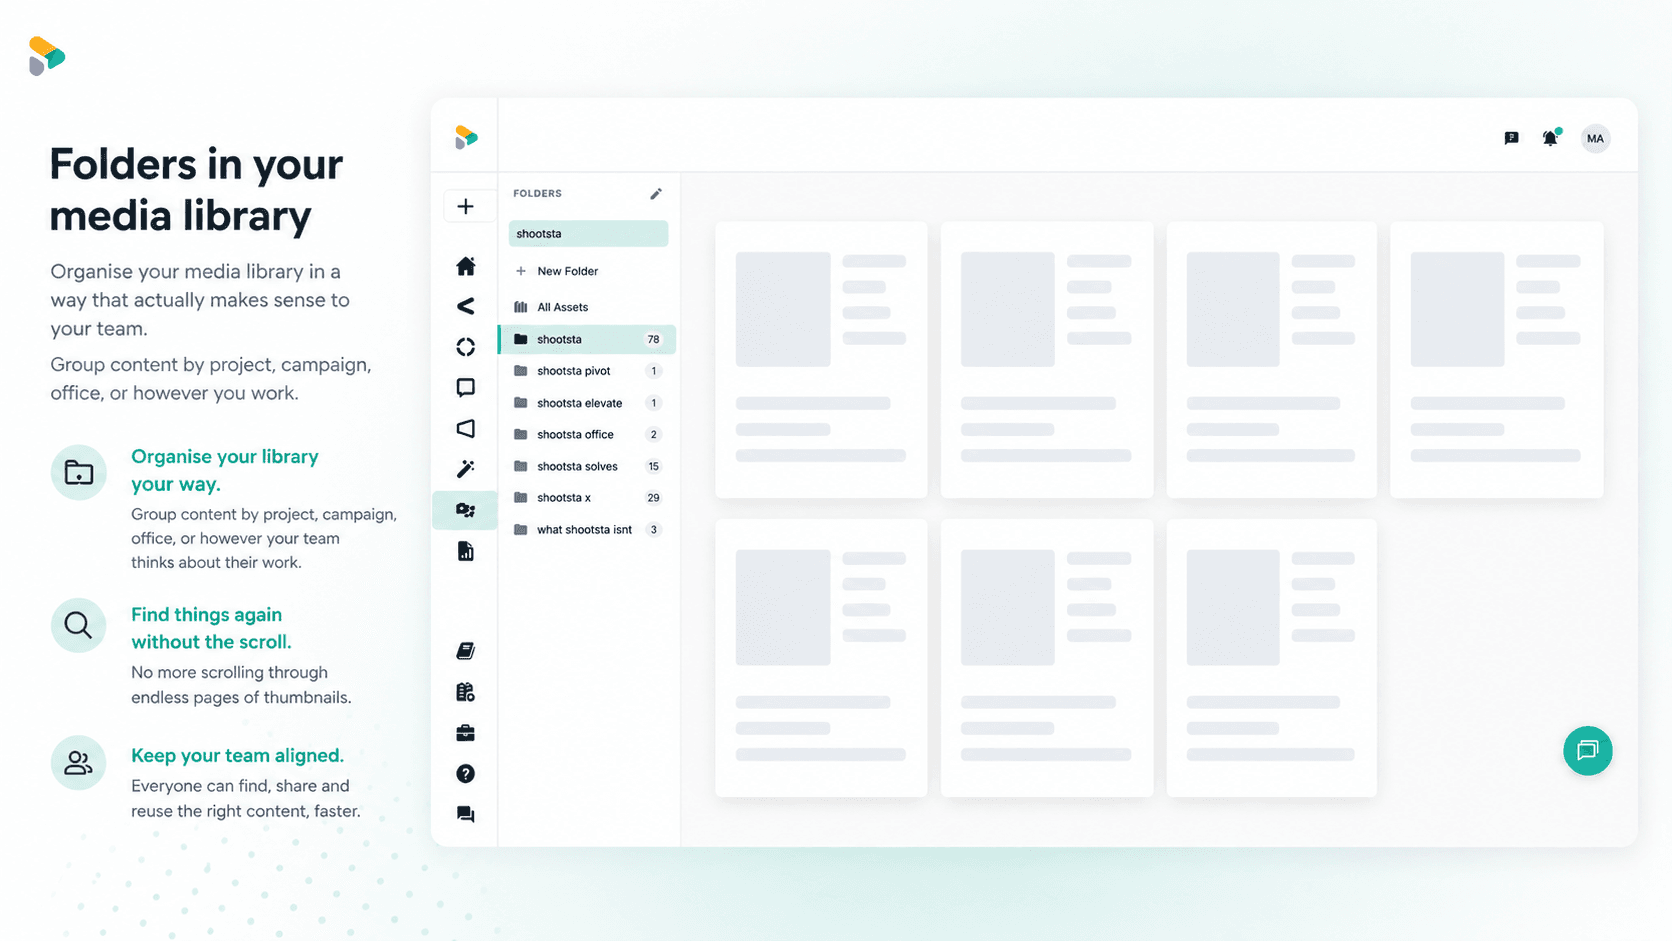
Organize your video assets into folders directly inside the Shootsta media library. Here is how to create folders, move assets, and keep your library clean as it grows.
The Shootsta media library now supports folders. You can group assets by project, campaign or team, or in whatever way suits your workflow. You no longer have to scroll through a flat list of every file you have ever uploaded.
How do media folders work?
Folders in Shootsta work through tagging. When you create a folder and add assets to it, the platform tags those assets so they are grouped together. This means a single asset can live in multiple folders if needed, which is useful when the same B-roll clip is relevant to more than one project.
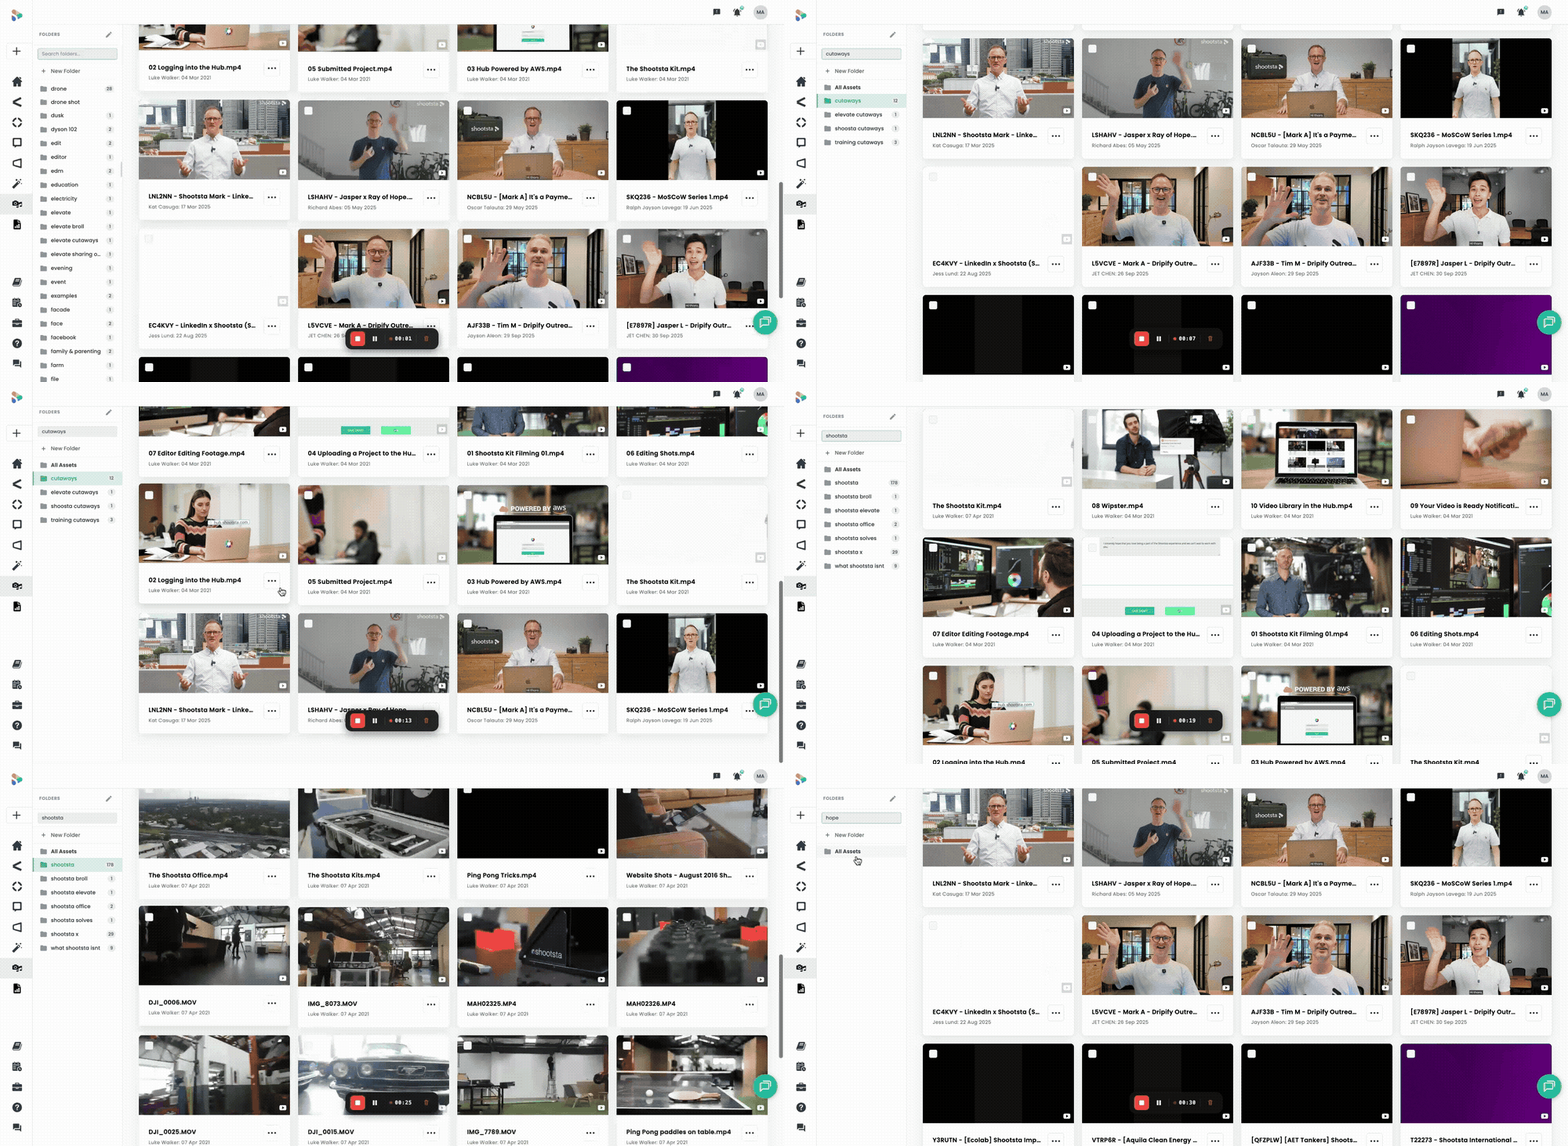
The left sidebar in your media library shows your folder structure. Click a folder to filter the library to just those assets. Click "All Assets" to see everything.
How do I create a folder?
Three steps:
- Open your Media Library from the left navigation
- Click + New Folder in the folders panel
- Name your folder and start dragging assets into it
The folder shows up in your sidebar straight away, and you can start filling it from there.
How should I organize my folders?
There is no single right way, because it depends on how your team thinks about its work. The three approaches below hold up well as a library grows.
By project or campaign
Create one folder per project, such as "Q1 Brand Campaign", "Onboarding Series" or "2026 Annual Report". This keeps every asset for a single deliverable together. It suits teams whose projects have clear start and end dates.
By asset type
Set up separate folders for raw footage, B-roll, final edits, brand assets (logos, templates, lower thirds) and audio. This works for production teams who need to find one type of asset across many projects.
By team or department
Give each department its own folder, for example Marketing, L&D, Internal Comms and Sales Enablement. This fits companies where several teams make their own videos and each wants a workspace inside the shared library.
You can combine approaches too. Folders sit in one flat list, so use a shared prefix such as "Marketing - Spring Campaign" and "Marketing - Brand Assets" to get both views.
Free Consultation
Want a hand with your next video?
Talk to a Shootsta producer about your goals, timeline, and budget. There is no pitch, just advice you can use.
What if I have hundreds of existing assets?
You do not need to sort everything at once. Start with new work: create a folder each time you begin a video project and add assets to it as you go. Over time, the files you use most end up in folders without a separate cleanup.
For older assets, batch-organize by working through the library one section at a time. Sort by date, pick out a project, create a folder for it and drag the assets in. A short session each week clears a large backlog faster than you might expect.
Who can see and edit folders?
Folders are visible to everyone in your workspace. Any team member can create folders and move assets between them. Shared teams stay flexible this way, and nobody has to wait for an admin to set things up.
Tips for keeping your library clean
Name folders clearly. "Sydney Event March 2026" is better than "Event Stuff." When you come back to it in three months, the name should tell you what is inside without opening it.
Archive completed projects. Once a project wraps and the final videos are delivered, move the folder's assets to an archive area or add an "Archived" prefix to the folder name. This keeps your active view focused on current work.
Use consistent naming. Pick a convention and stick to it. If your team uses "[Client] - [Project] - [Date]" for folders, everyone should follow the same format. Consistency makes searching faster for everyone.
For a deeper guide on managing video assets as your library scales past hundreds of files, see our guide on organizing video assets at scale.
Frequently asked questions
Can one asset live in multiple folders?
Yes. Folders use tagging underneath, so the same asset can appear in multiple folders without duplicating the file. This is useful for shared assets like brand templates or B-roll that gets reused across projects.
Is there a limit to how many folders I can create?
No, you can create as many as you need. Keep the names clear so the list stays easy to scan.
Can I nest folders inside other folders?
The current structure supports a flat folder list. You can simulate hierarchy through naming conventions (e.g. "Marketing - Q1 Campaign," "Marketing - Brand Assets").
Does this affect how editors see my assets?
Editors see the same folder structure. If you organize your assets before briefing a project, editors can find what they need faster, which means less time hunting for files and fewer clarification requests. For tips on writing briefs that work with organized assets, see our guide on video briefs that editors get right.
Can I search within a folder?
Yes. The search function filters within the selected folder, so you can narrow results to a specific project or asset type.
Take this article with you
Read the latest at shootsta.com/blog/how-to-use-media-folders-in-shootsta
You might also like
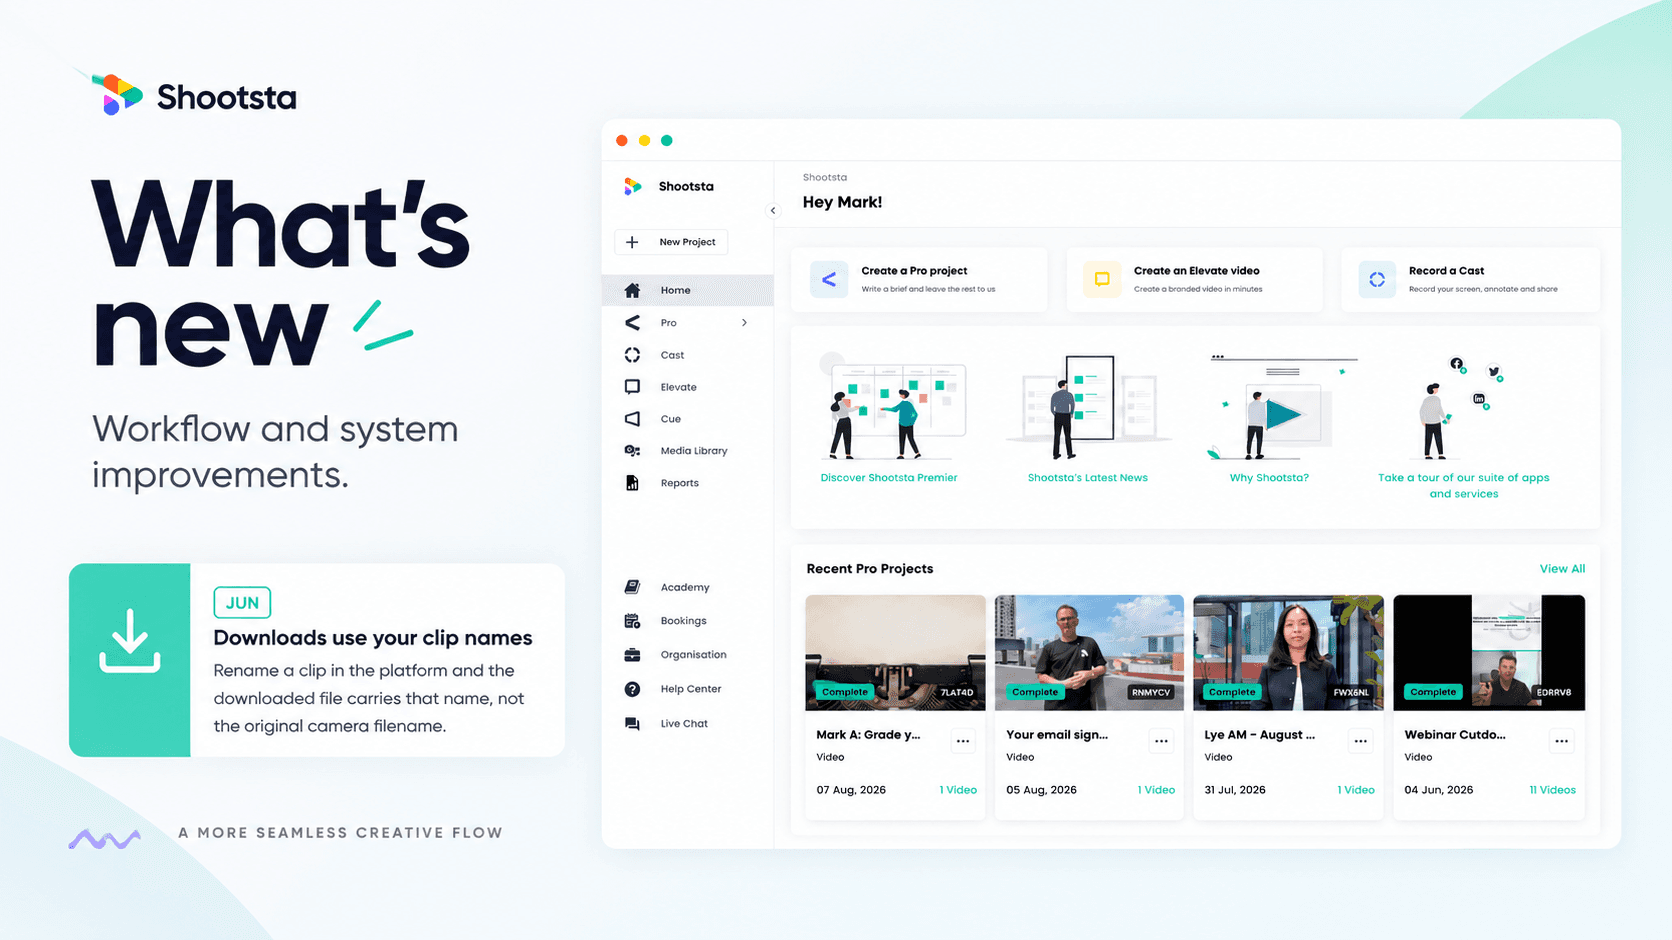
Less Admin, More Video: 15 Shootsta Updates
Fifteen platform updates from June to August 2026, covering video review, your media library, uploads and captions. Here is what changed and why it helps.
What we heard at the CMO Assembly in Nashville
Two days at the Millennium Alliance CMO Assembly in Nashville with marketing leaders from some of the world's biggest brands. Three things came up in almost every conversation: volume is up while budget is flat, brand drifts as volume rises, and speed decides whether a video still matters. Here is what we heard and what we shared.
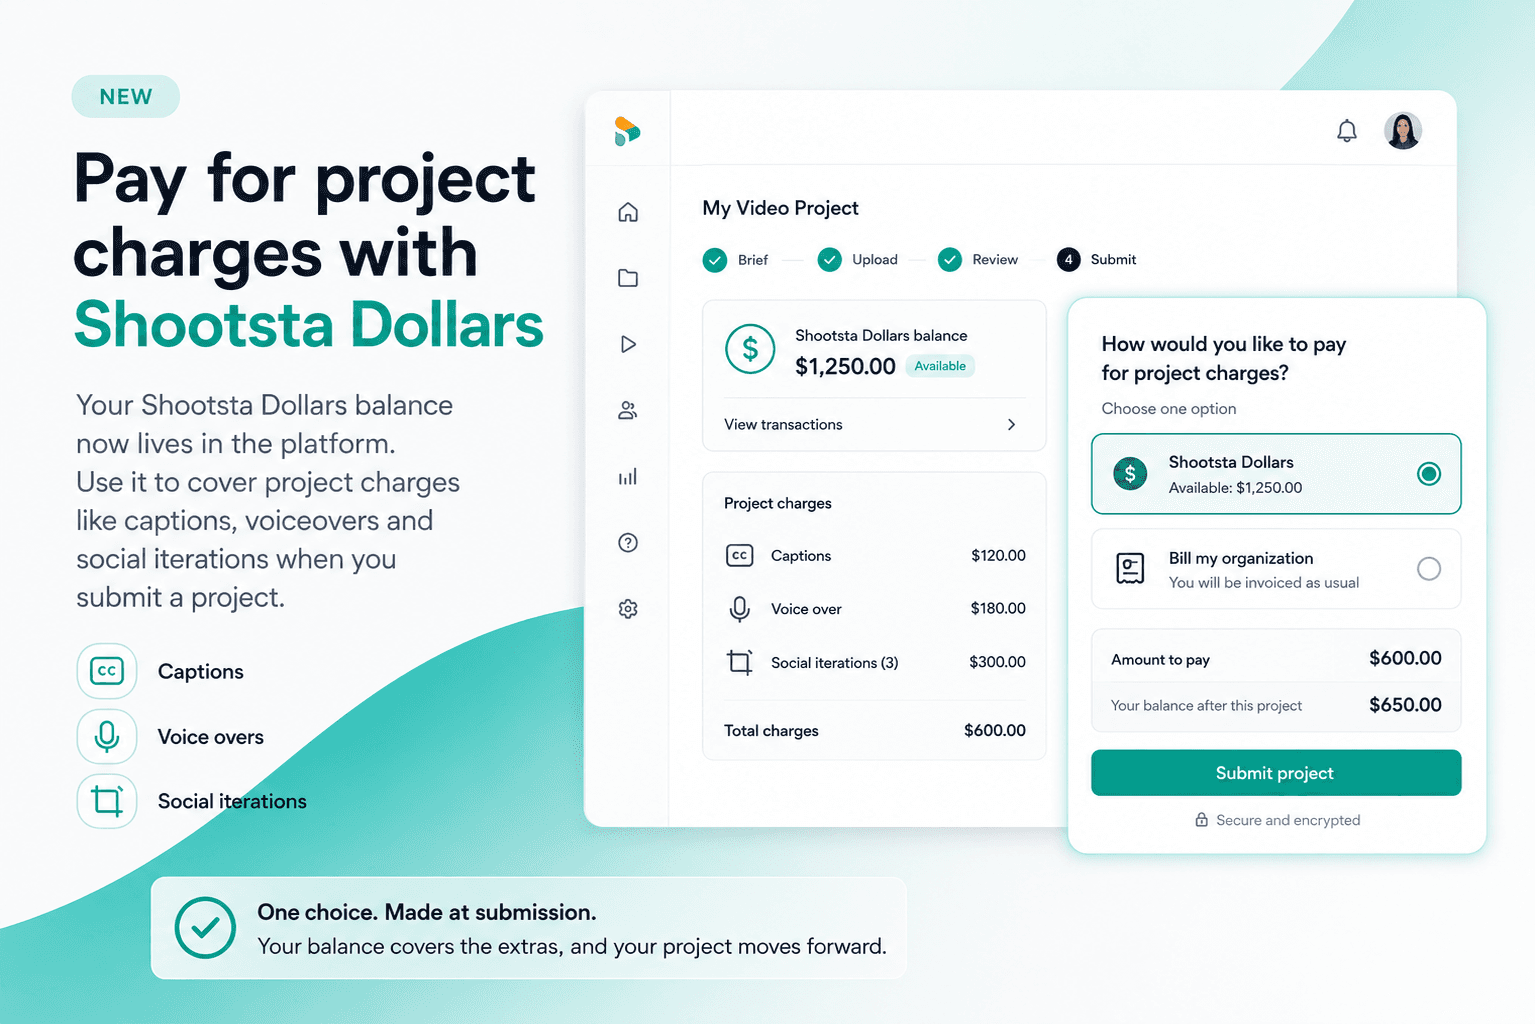
Pay for project charges with Shootsta Dollars
Your Shootsta Dollars balance now lives in the platform. Use it to cover project charges like captions, voiceovers and social iterations when you submit a project.
Shootsta Impact Video Awards 2026: How to Enter
Shootsta Impact Video Awards 2026: How to Enter
Entries are open for the Shootsta Impact Video Awards 2026. Here is what the awards recognise, who can enter, the 14 categories, how the panel judges, and how to nominate your team before July 31.
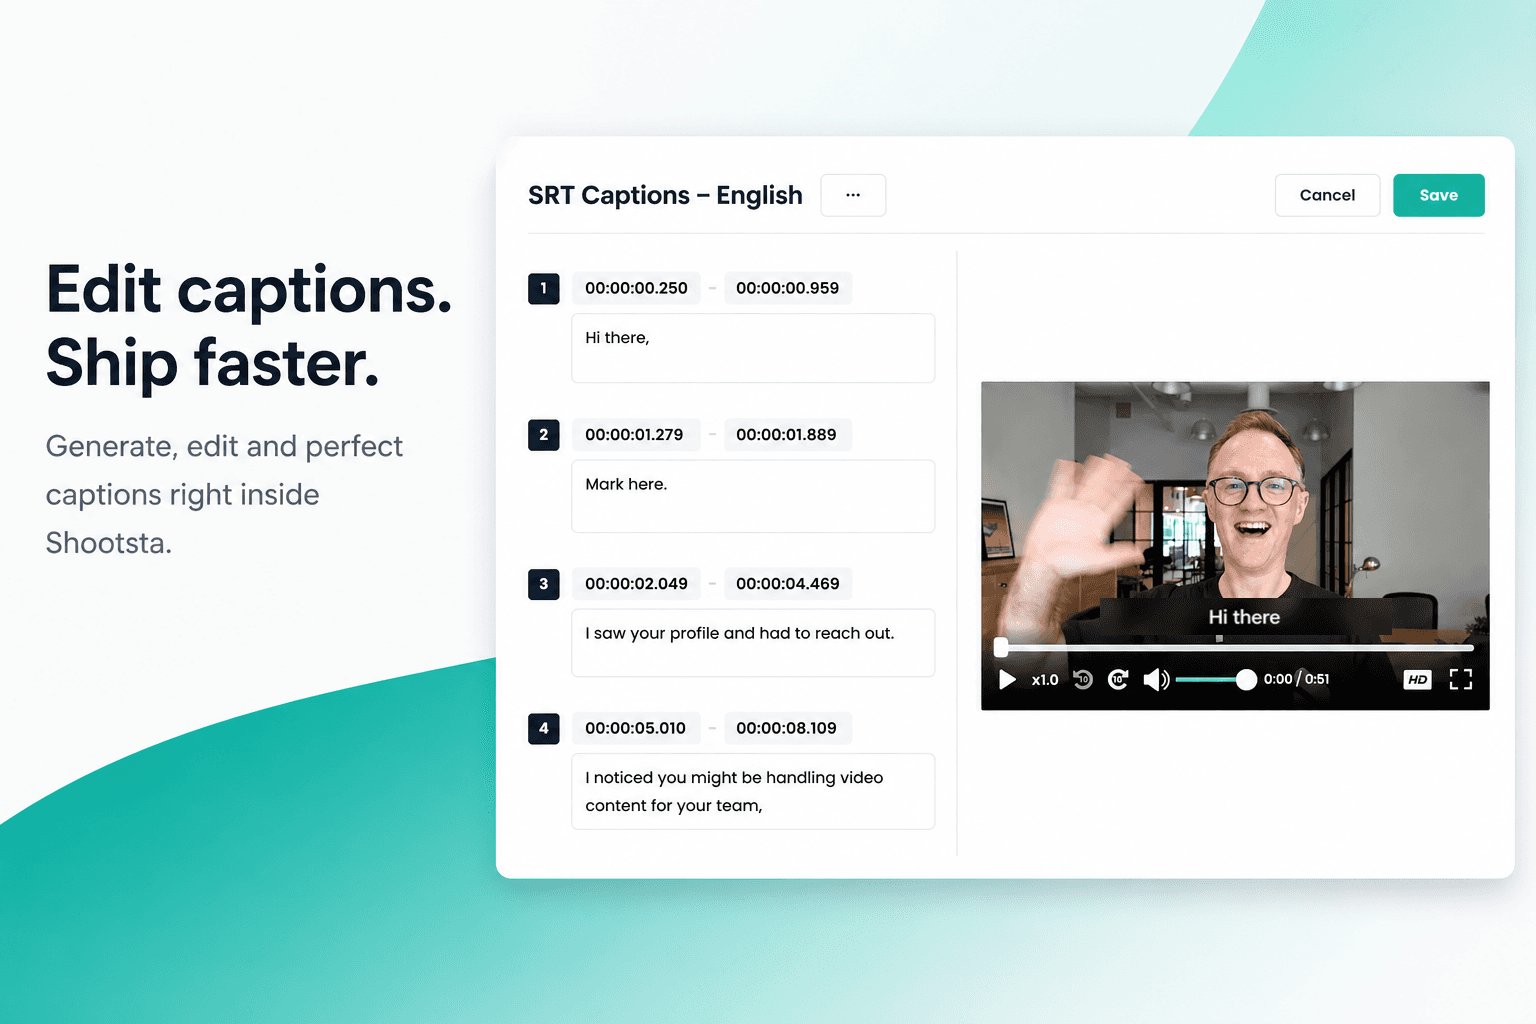
How to Add Captions in Shootsta
Generate and edit captions directly inside the Shootsta platform. No request forms, no back and forth, no waiting on turnaround. Here is how it works.
